How to Activate an eSIM on iPhone with a QR Code or Manual Code

In short
To activate an eSIM on iPhone, connect to Wi-Fi, open Settings > Cellular or Mobile Data > Add eSIM, then scan the provider’s QR code or choose Enter Details Manually and enter the SM-DP+ address and activation code. Finish the prompts, label the line, and follow the plan’s instructions for when to turn it on.
Key takeaways
- Apple’s March 2026 instructions list iPhone XS, iPhone XS Max, iPhone XR, or later as eSIM-capable, although regional model exceptions apply.
- A travel eSIM from another provider requires a carrier-unlocked iPhone; Carrier Lock should show “No SIM restrictions.”
- QR-code and manual-code setup install the same type of eSIM profile, but manual entry requires every supplied character to match.
- Installing the profile and selecting the travel line for cellular data are separate steps, so verify both before testing the connection.
- eSIM Trading travel plans provide mobile data only, not a phone number, conventional calls, SMS, or SMS verification codes.
In this guide
- What you need before installation
- How to use a QR code
- How to enter a manual code
- Which destination settings to use
- How to verify activation
- How to fix activation problems
- Frequently asked questions
- What to do next
What do you need before you add the eSIM?
Before adding the eSIM, confirm that the iPhone supports eSIM, is carrier-unlocked, has internet access, and has the complete provider instructions available. As of September 2026, Apple’s March 10, 2026 iPhone eSIM setup instructions list iPhone XS, iPhone XS Max, iPhone XR, or later, with regional exceptions.
The five checks before installation
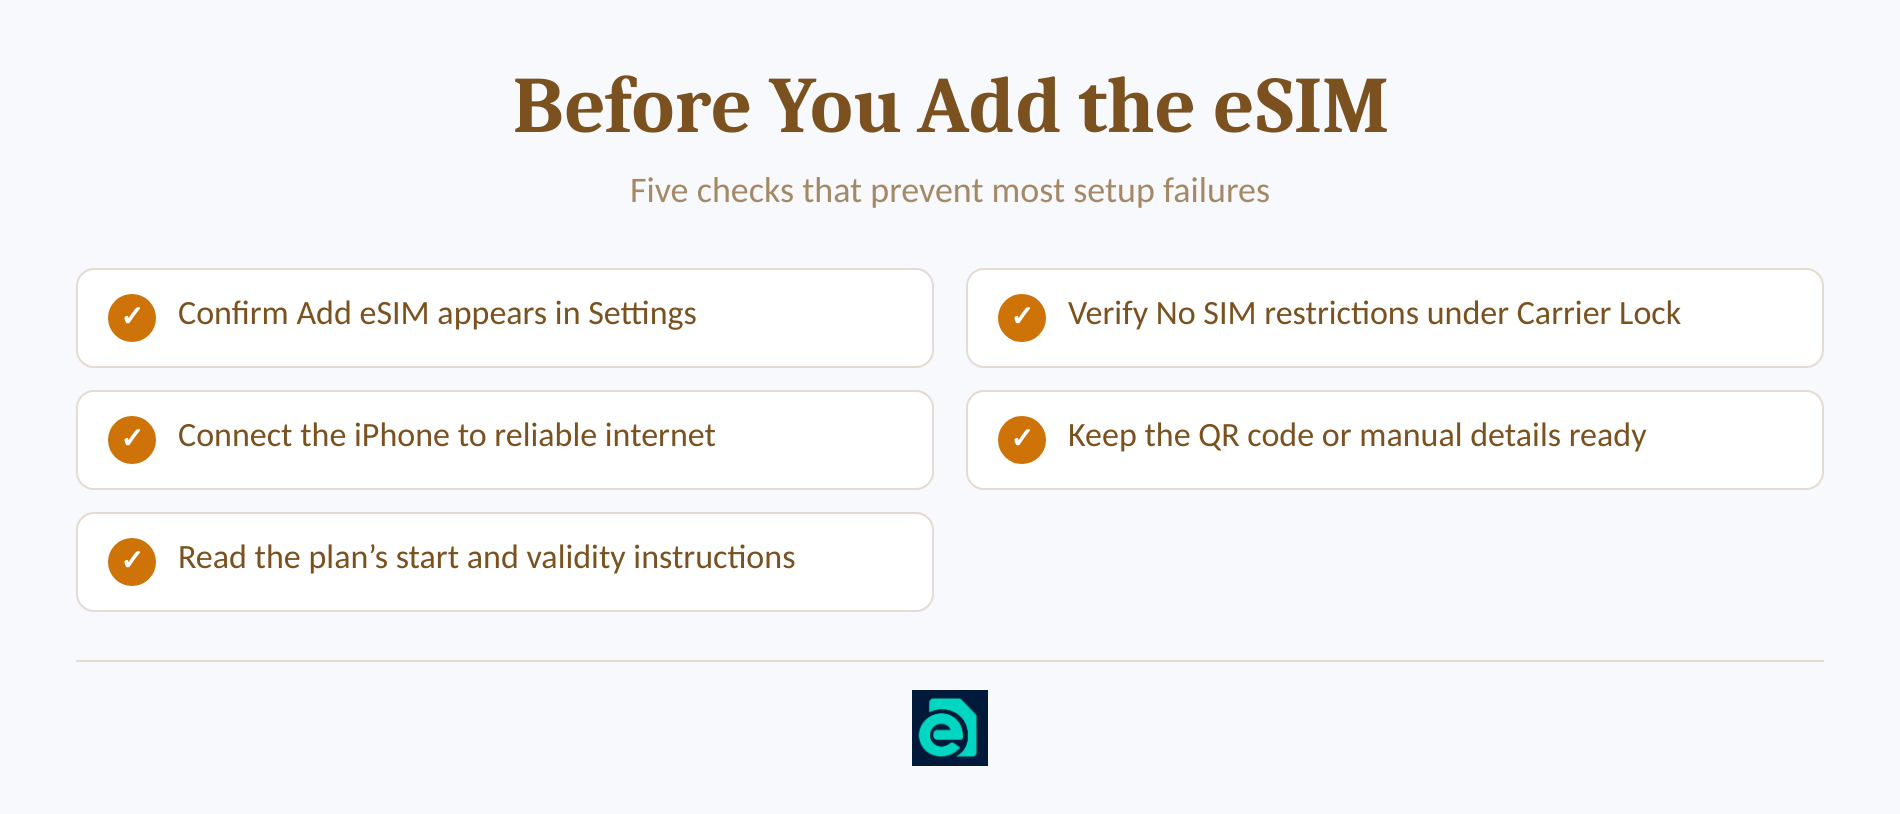
- iPhone support: Open Settings > Cellular or Mobile Data and look for Add eSIM or Set Up Cellular. The menu is a more useful check than assuming support from a model name alone.
- Carrier unlock: Open Settings > General > About and find Carrier Lock. If it does not show “No SIM restrictions,” use the guide to how to tell if an iPhone is unlocked before buying or installing a plan from another provider.
- Internet access: Connect to reliable Wi-Fi or a hotspot. Apple generally requires an internet connection while downloading the eSIM profile, although limited regional exceptions exist.
- Activation details: Keep the QR code or manual details open on another device when possible. Manual instructions commonly include an SM-DP+ address, an activation code, and sometimes a confirmation code.
- Plan instructions: Check when the provider wants the line enabled and when plan validity begins. Do not infer the timing from the word “activated.”
An eSIM Trading travel plan supplies data rather than a telephone number, conventional calls, or SMS. Check the plan’s destination coverage and validity, and review the applicable fair-usage conditions before installing a plan marketed as unlimited.
A successful installation starts with an unlocked, compatible iPhone, working internet, and the provider’s complete activation details.
How do you activate an eSIM on iPhone with a QR code?
Use the QR-code method when the provider has supplied a code that the iPhone can scan or recognize. The QR code loads the eSIM profile, but it does not by itself choose the new line for cellular data or control the home line’s roaming behavior.
QR-code setup, step by step
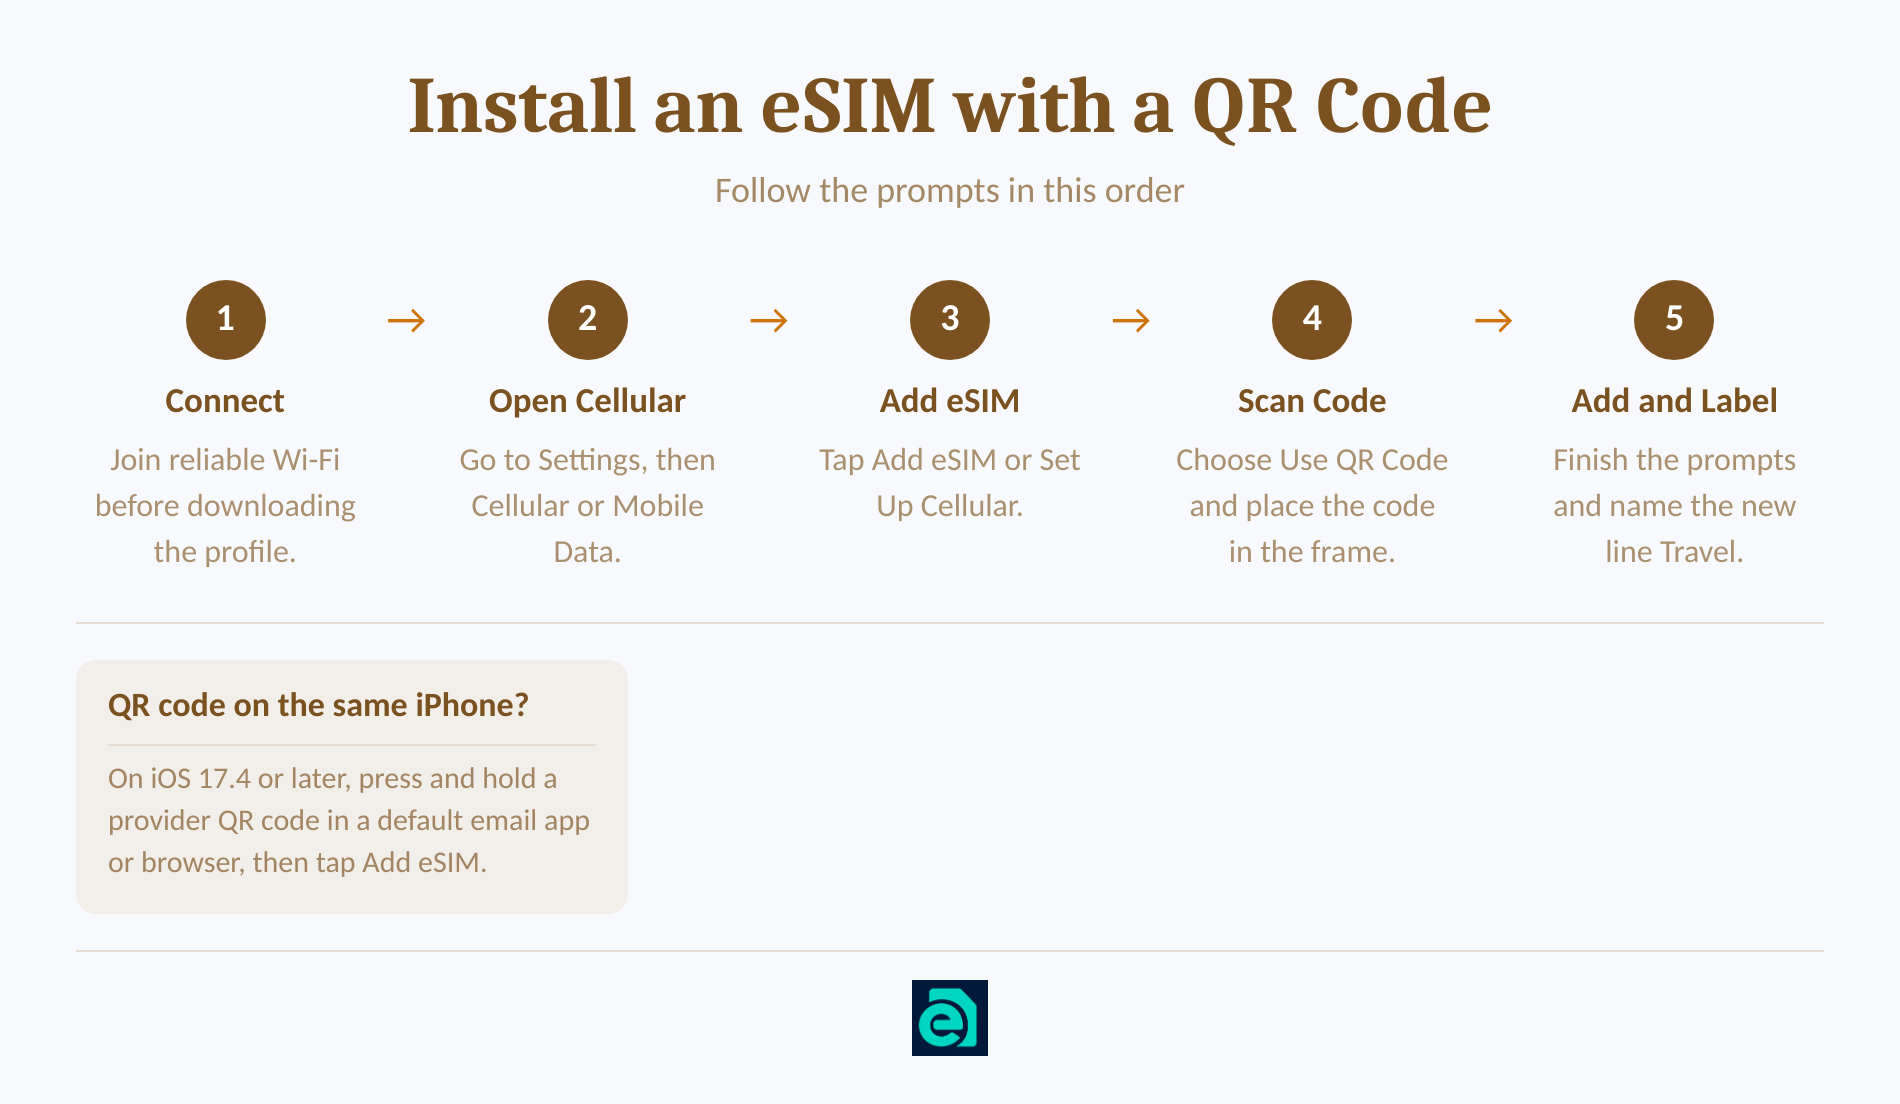
- Connect the iPhone to Wi-Fi and keep the QR code available.
- Open Settings and tap Cellular or Mobile Data.
- Tap Add eSIM or Set Up Cellular, then choose Use QR Code. Other Options may appear first on some versions.
- Position the QR code inside the camera frame and wait for the cellular-plan notification.
- Tap Continue, then Add Cellular Plan or Add eSIM when prompted.
- Enter a provider confirmation code only if one was supplied, then give the new line a recognizable label such as Travel.
If the QR code is displayed on the same iPhone, Apple says an iPhone running iOS 17.4 or later can recognize a provider QR code in a default email app or browser. Press and hold the QR code, tap Add eSIM, and follow the prompts. If that option does not appear, display the code on another phone, tablet, or computer instead.
After installation, open Settings > Cellular or Mobile Data and confirm the new label appears. Leave the activation details available until the line has connected successfully at the destination.
The QR code is the quickest way to load the profile, but line selection and roaming settings decide how the iPhone uses it.
How do you activate an eSIM on iPhone without a QR code?
Choose manual entry when the QR code is unavailable, cannot be displayed on another screen, or is not being recognized. Manual setup downloads the same eSIM profile, but it replaces the scan with provider-supplied text fields.
QR code or manual code: what changes?
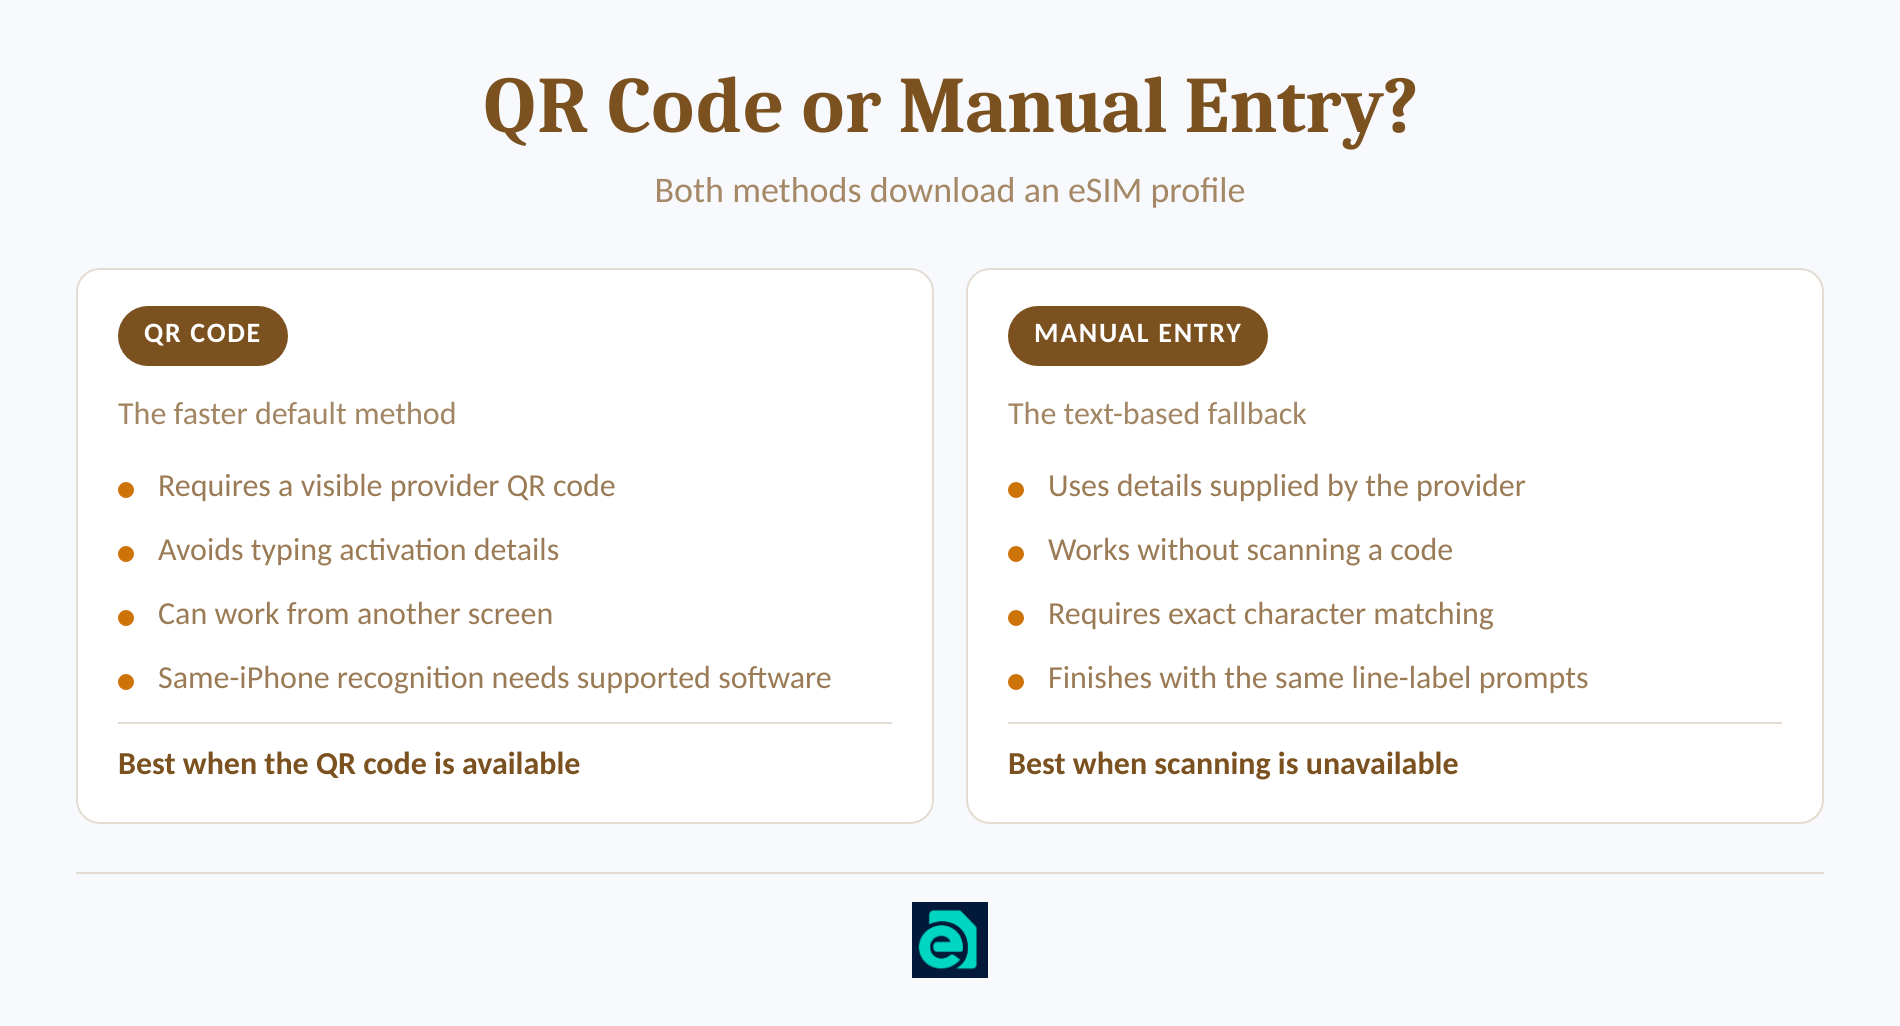
- Open Settings > Cellular or Mobile Data.
- Tap Add eSIM or Set Up Cellular.
- Choose Use QR Code, then tap Enter Details Manually near the bottom of the scanner screen. Menu wording can vary by region and iOS version.
- Enter the SM-DP+ Address exactly as supplied by the provider.
- Enter the Activation Code, then add a confirmation code only if the instructions include one.
- Tap Next or Continue, wait for the profile to download, and label the line when prompted.
Paste the details where possible instead of retyping them. Do not add spaces, alter capitalization, or substitute the order number for the activation code. If the iPhone rejects the details, compare each field with the original instructions before requesting a replacement.
Manual entry reaches the same result as a QR scan, but every supplied character must be copied exactly.
What should you switch on when you reach your destination?
After the profile appears, enable the travel line and select it as the iPhone’s cellular-data line at the time specified by the provider. Installing the profile prepares the phone, while these destination settings determine which line supplies mobile internet.
The settings to verify at the destination
- Turn On This Line: Open Settings > Cellular or Mobile Data, tap the travel line, and make sure the line is enabled.
- Cellular Data: Return to the Cellular screen, tap Cellular Data, and select the travel line.
- Data Roaming: Follow the travel-plan instructions for this switch. Many travel profiles connect through partner networks, but the provider’s directions should control this setting.
- Allow Cellular Data Switching: Leave this off if the travel line should be the only cellular-data source. Turning it on permits the iPhone to use another enabled line in some circumstances.
- Home line: Decide whether the home line should remain enabled for calls and messages. Turning off data roaming on that line can reduce unintended data use, but it does not guarantee that every home-carrier charge is prevented.
Apple’s March 10, 2026 travel-eSIM guidance warns that keeping the current line active can still result in roaming charges. Apple’s April 14, 2026 Dual SIM guide also states that an iPhone uses one cellular-data network at a time. An eSIM Trading plan is data-only, so conventional calls and SMS remain functions of the home line or internet-based apps.
Installing the eSIM prepares the phone; selecting the travel line for cellular data puts the plan to work.
How do you know the eSIM is activated?
An installed eSIM should appear as a separate line in Settings, but its presence alone does not prove that destination mobile data works. Verify the stored profile, the enabled line, the selected data source, and the live network connection separately.
Check these four signs:
- The travel line appears under eSIMs in Settings > Cellular or Mobile Data.
- Turn On This Line is enabled for the travel profile.
- Cellular Data is set to the travel line.
- At the destination, Control Center shows a carrier name or signal and a mobile-data test works with Wi-Fi switched off.
No Service while still outside the plan’s covered destination can be normal. Test the connection only where the plan lists supported coverage, and use a small webpage rather than a large download for the first check.
An eSIM is ready only when the profile is present, the line is enabled, and destination mobile data actually works.
Why is the eSIM not activating on iPhone?
If you are nervous about messing up the setup, begin with checks that can be reversed without deleting the profile. Apple’s April 23, 2026 eSIM troubleshooting instructions recommend checking connectivity, toggling the line, restarting the iPhone, updating carrier settings, and contacting the provider if the problem remains.
Work through these steps in order:
- Confirm internet access. Reconnect to Wi-Fi or another hotspot and open a webpage before trying the installation again.
- Refresh the connection. Turn Airplane Mode on and off, disable and re-enable the travel line if it appears in Settings, then restart the iPhone.
- Check updates. Install the latest iOS version available for the phone. Open Settings > General > About and accept a carrier-settings update if a prompt appears.
- Recheck compatibility and lock status. Confirm that Add eSIM is present and Carrier Lock shows “No SIM restrictions” when the travel plan uses another provider.
- Compare the activation details. Check the QR code or every manual field against the original order instructions. A mistyped address or code prevents the intended profile from being found.
- Check the plan’s location and timing. An installed destination plan might not show a usable network before arrival. Confirm that the current country and intended start point match the instructions.
- Escalate with useful details. Record the exact error message and find the EID and IMEI under Settings > General > About. Provide those details when you contact eSIM Trading or the provider responsible for the profile.
Do not delete the eSIM as an early troubleshooting step. Apple’s April 23, 2026 eSIM deletion guidance says not to erase an eSIM unless directed by the provider, because obtaining and setting up a replacement may be necessary afterward.
Troubleshoot with reversible checks first, and do not delete the eSIM unless the provider tells you to.
What else do people ask about iPhone eSIM activation?
These questions cover the setup decisions that are easy to confuse when an iPhone has both a home line and a travel profile. Each answer treats installation, data-line selection, and network service as separate checks.
How do I activate eSIM by myself?
Connect the iPhone to Wi-Fi, open Settings > Cellular or Mobile Data > Add eSIM, then use the QR code or choose Enter Details Manually. Complete the prompts, label the new line, and turn it on. For travel data, select that line under Cellular Data when the plan should connect.
How do I switch between SIM card and eSIM on iPhone?
Open Settings > Cellular or Mobile Data, tap Cellular Data, and select the line that should provide internet access. You can leave both lines enabled, but the iPhone uses one cellular-data network at a time. Review the home line’s roaming settings before travel because keeping it active can still lead to carrier charges.
Why is eSIM not activating on iPhone?
An eSIM may fail because the iPhone is offline, locked, unsupported, missing current software or carrier settings, or receiving details that do not match the provider’s profile. The plan may also be outside its supported network area. Toggle Airplane Mode, restart, check updates, then contact the provider with the error message and EID.
How do I know my eSIM is activated on my iPhone?
Open Settings > Cellular or Mobile Data and confirm the new line appears under eSIMs and is turned on. At the destination, select it for Cellular Data and check for a carrier name or signal in Control Center. Turn off Wi-Fi and load a small webpage to confirm mobile data works.
Treat profile installation, line selection, and destination-network connection as three separate checks.
What should you do next?
Check the iPhone before buying, then install the eSIM while reliable Wi-Fi and the order details are easy to access. If the profile is already installed, wait for the plan’s instructed start point and complete the destination settings instead of scanning the code again.
If a plan is still needed, browse our country and regional travel-data eSIM plans and choose coverage, data, and validity that match the itinerary.
Check the iPhone first, keep the activation details available, and install on reliable Wi-Fi before the trip.
Ready to travel without roaming bills?
Instant eSIM data plans for 148 countries — delivered as a QR code in under a minute. No account, no contract.
Browse destinations